How To Use GuardSafely

Step-by-step tutorials to help you get the most out of every feature. From first setup to advanced safety tools — we walk you through it all.

1 Getting Started 2 Adding a Child 3 Using the Map 4 Creating Safe Zones 5 Setting Up Safe Spaces 6 Viewing Alerts 7 The Child's View
1

Getting Started

  • 1 Download GuardSafely from the Google Play Store and open the app. Create your parent account with just an email and password — no phone number or personal details required.
  • 2 Your encryption keys are generated automatically on your device during signup. This means your location data is encrypted before it ever leaves your phone.
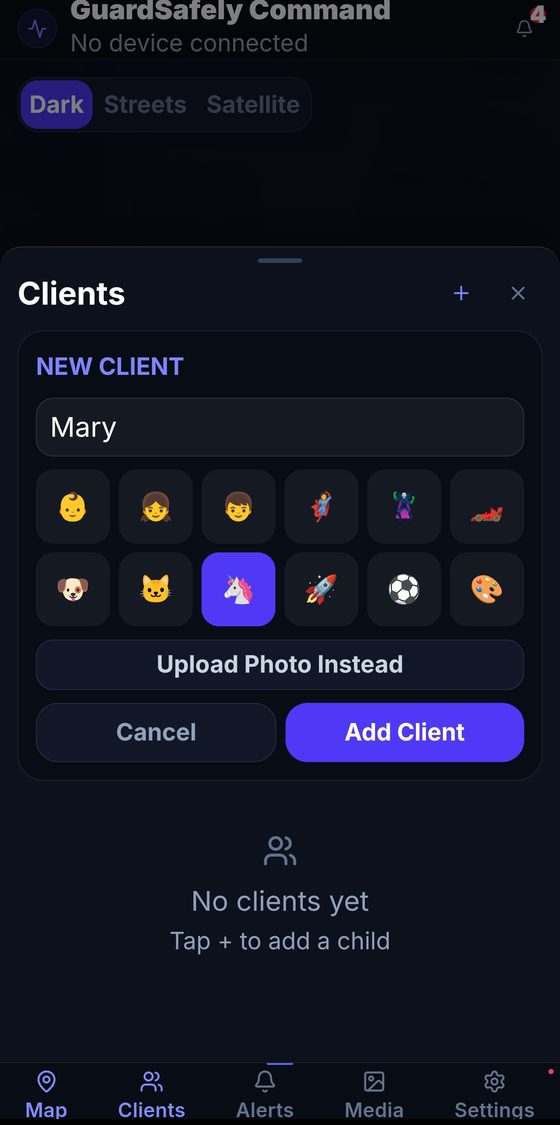
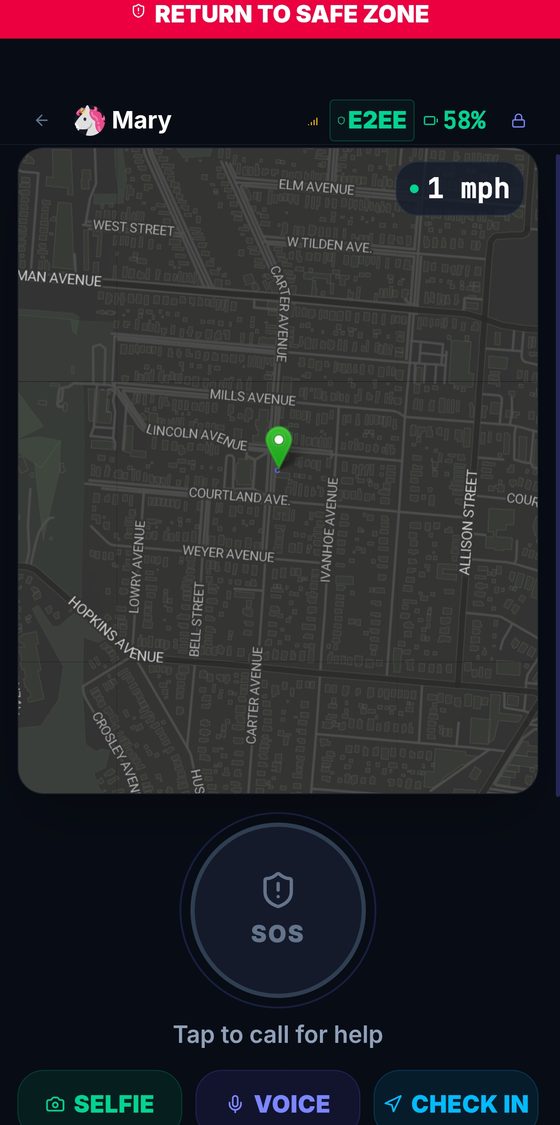
  • 3 Once logged in, you will see the main map view. The bottom navigation bar gives you quick access to the Map, Clients (children), Alerts, Media, and Settings tabs.
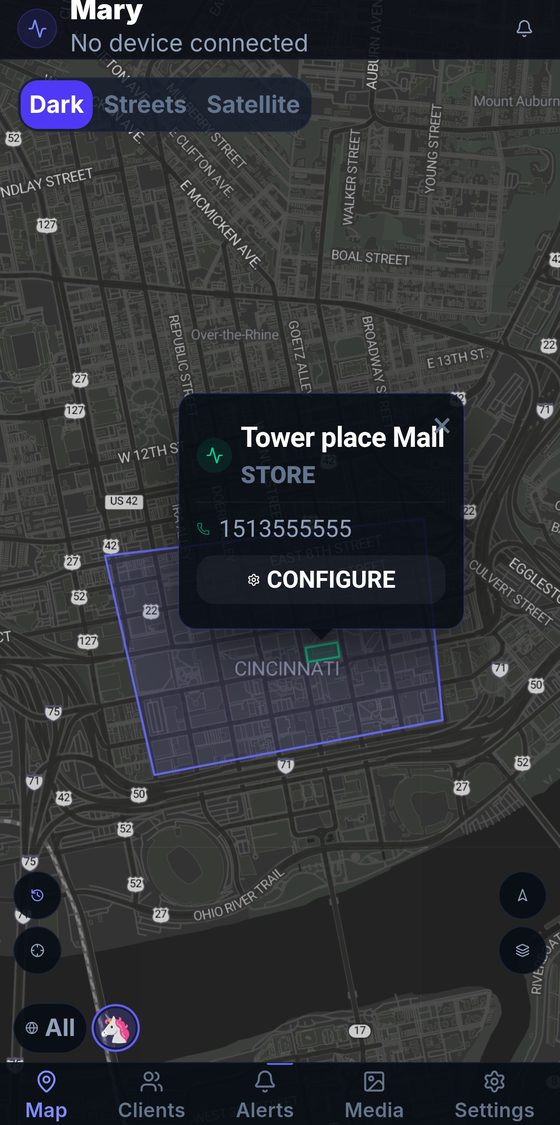
  • 4 Use the map theme switcher in the top-left corner to choose between Dark, Streets, or Satellite views. Pick whichever is easiest on your eyes.
GuardSafely main map view showing real-time GPS tracking
2

Adding a Child

  • 1 Tap the Clients tab in the bottom navigation bar. If you have not added anyone yet, you will see a "No clients yet" message.
  • 2 Tap New Client to open the setup dialog. Enter your child's name and choose a fun emoji avatar from the grid, or tap "Upload Photo Instead" to use a real photo.
  • 3 Tap Add Client to save. A unique pairing PIN or QR code is generated so you can securely connect your child's device to your account.
  • 4 On your child's device, install GuardSafely and enter the PIN or scan the QR code. The encryption key is shared directly between devices — never through our servers.
Adding a child with name and emoji avatar picker
3

Using the Map

  • 1 The Map tab is your home base. Each child appears as a colored pin on the map with their name displayed. Tap any pin to see their details.
  • 2 Use the theme switcher in the top-left corner to toggle between Dark, Streets, and Satellite map views depending on your preference.
  • 3 If you are tracking multiple children, use the All filter button at the bottom to filter the map to show one child at a time, or view everyone at once.
  • 4 Pinch to zoom and drag to pan the map. The map updates in real time, so you always see the latest location without needing to refresh.
Map view with theme switcher and child location pin
4

Creating Safe Zones

  • 1 Go to the Clients tab and tap on your child's name to open their settings. From there, tap Safe Zone to start drawing a geofence boundary. Tap points on the map to place polygon corners — you need at least 3 points.
  • 2 Give your zone a descriptive name like "Downtown," "School," or "Grandma's Neighborhood." This name appears in your alert notifications.
  • 3 Configure Alert on Exit settings. Toggle on Audio alarm to hear an audible alert, and Push notification to get a notification when your child leaves the zone.
  • 4 Tap Save to activate the zone. You will now receive instant alerts whenever your child enters or leaves the boundary you drew.
Safe Zone creation with polygon geofence and alert settings
5

Setting Up Safe Spaces

  • 1 Safe Spaces are specific pinned locations on the map — like your child's school, a favorite store, or a family member's home. Tap the map to add a new Safe Space.
  • 2 Enter the location name (e.g., "Tower Place Mall"), select a category like Store, School, or Home, and optionally add a phone number for quick contact.
  • 3 Tap Configure to set custom arrival and departure notifications for the space. For example: "Mary arrived at Tower Place Mall."
  • 4 Your Safe Spaces appear as labeled pins on the map, so you can instantly see when your child is near an important location.
Safe Spaces showing pinned location with category and phone number
6

Viewing Alerts

  • 1 Tap the Alerts tab in the bottom navigation to see all your notifications in one place. Alerts are listed chronologically with timestamps.
  • 2 Notifications include selfie check-ins, voice messages, zone entry/exit alerts, and SOS emergencies. SOS alerts appear in red so they stand out immediately.
  • 3 Tap any alert to see more details or respond. For photo check-ins and voice messages, you can view or listen directly from the alert.
  • 4 Use the Clear all button at the top to dismiss read notifications. Critical SOS alerts will always remain visible until you manually acknowledge them.
Notifications panel showing check-ins, voice messages, and SOS alerts
7

The Child’s View

  • 1 This is what your child sees on their device. Their screen shows their name, current location on the map, battery level, speed, and the E2EE badge confirming all data is end-to-end encrypted.
  • 2 At the bottom, your child has quick-action buttons: Selfie to send a photo check-in, Voice to send an encrypted voice message, and Check In to confirm they are safe.
  • 3 The large SOS button lets your child call for help with a single tap. When triggered, all family members receive an immediate emergency alert with the child's exact location.
  • 4 If a child leaves a Safe Zone, a red "Return to Safe Zone" banner appears at the top of their screen, helping guide them back to safety.
  • 5 All tracking data, voice messages, and photos are end-to-end encrypted with AES-256-GCM. Nobody can access this data — not even GuardSafely.
Child's view showing SOS button, battery level, speed, and E2EE badge

Ready to keep your family safe?

Set up GuardSafely in under 3 minutes. End-to-end encrypted tracking, Safe Zones, SOS alerts, and more. $4.99/month, or free for families on assistance.

Start Free Trial → Community Access